I came across a cool tutorial over at Instructables yesterday, for using an old AM/FM radio as an amplifier for your ipod or other portable audio device, and decided to give it a whirl.
So this is the old radio I will use:
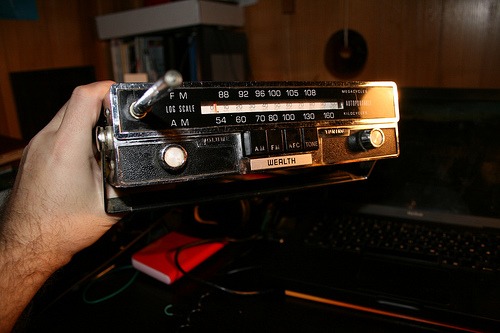
Cool huh! It came with the house when we bought it from my childrens great grandparents. I couldn’t find any dates stamped on it, but I do get the feeling that it is from the fifties. Could be mistaken about that :)
And I do believe it is an «Autoportable» of the world reknown WEALTH brand :) I wonder if they went out of business or changed the name. Must remember to Google them. Or not, I kind of like the idea of Wealth going out of business permanently :)
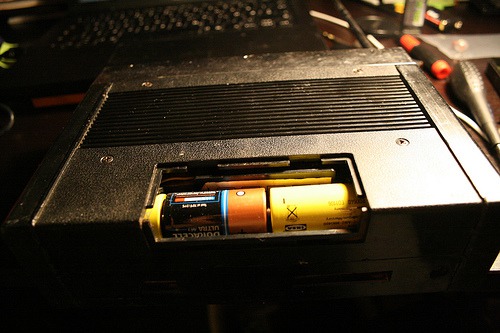
Shot from the back. Just four screws away from fun and games! This is actually the part I like best about fiddling with electronics.
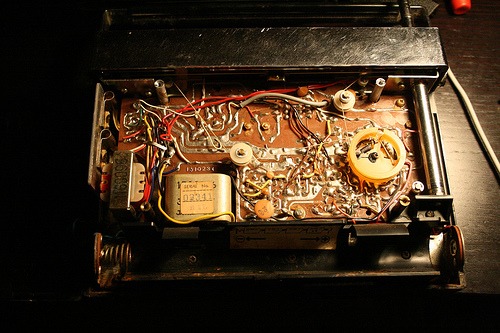
God dammit this radio is OLD. The circuits on the circuit board is buildt up THICK, and it looks like it has been done by hand! Respect! It is surprisingly dust free in here, but there seem to have been some acid damage from old batteries once upon a time, so I did a little cleanup.
The white thread that criss-crosses is connected to the tuner knob.
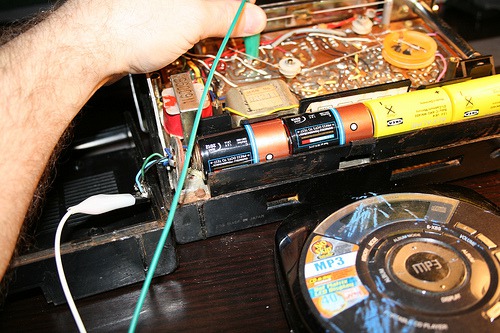
Doing a little «circuit-bending» while I’m at it. In this picture the green aligator clip hits the spot where I got the most amplification of the audio (compared to hooking it up directly to the speaker). I would like more boost to the signal, but I can’t get access to the radios amplifier without taking off the top and taking out the circuit board completely, and I am worried that I would do irreparable damage if I tried. There is a real danger that SOMETHING will snap, a solder joint, a cable, or the string connected to the tuner. Can’t risk it!
The white aligator clip is actually connected to the audio output jack (for the headphones. Easy!
These are the two points I ended up soldering the wires to, but I tested out alot of different «bend points», that is points on the circuit that created interesting shortcuts = weird audio effects. But this isn’t a circuit-bending project (and my girlfriend is about to murder me), so I will just solder it all up and call it a day.
Soldering:
The original solder is layered on so thick that all I have to do is apply enough heat to melt the solder. This actually took a while, but I managed to work my thin cables down into the solder.
I then put the other ends of the cables out though the hole for the headphone jacks, and soldered an audio jack to it (after testing and smiling alot).
Interface!
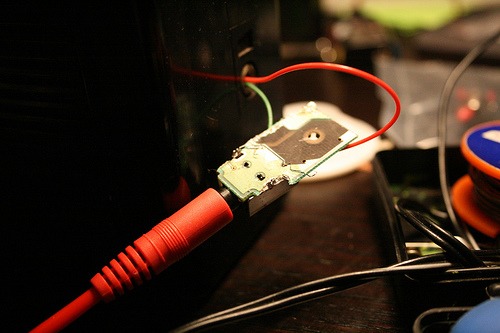
It is said that god lives in the details. Well, then god ain’t been anywhere near this audio jack! I took it from an old dvd-rom I had laying around. For some reason I had problems desoldering it from the board, so I just cut the board with a pair of pliers, and ripped it out. I guess I could make this prettier some day when I have the parts.
Also note that I didn’t cut any new holes in the radio, I simply used the existing Ear-phone jack which as a hole straight through. The observant reader might also wonder why I didn’t just use rewire the air phone jack allready in the radio! Well, because I like old things. Alot. And I would like the things I do to them to be as reversible as possible. If this had been a crappy, new shitbox of a radio, I would have whacked it with a hammer, spraypainted it, put it on fire, filmed it and called it art :).
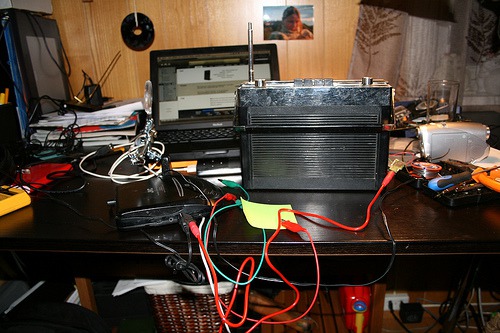
All done! Ok, so I am not testing with an Ipod, I only wrote that to be fancy. No not really, the Ipod just got a new update, so it’s reformatting itself and getting new firmware + transferring 40 gb og crap back onto its shiny hard drive, so a portable cd player will have to do. This JVC cd-player is fantastic, it is my first one, bought with one of my very first pay checks (summer job, washing floors) over 20 years old, and it simply refuses to die! Maybe they knew how to make things more solid in the 80s?
Video:
I filmed this with my Nokia N95, so the quality is not that good, but at least you get an idea of what it looks and sounds like.
After filming this I switched to the Ipod, but was a little dissapointed because there was quite a drop in volume. A little fiddling with the EQ on the ipod improved the sound a little, but even when cranking the ipod up all the way I couldn’t quite get the same volume or depth of sound as I got from the JVC. I guess the JVC output signal is better amplified…
This is just a fast hack, it basically just connects the ipod directly to the speaker (but with a little extra juice from the radio circuit added). I really wanted to try to connect the ipod to a spot between the radios tuner and the radios amplifier. Right now the radios volum control has no effect on the radio.
The reason I didn’t do it properly? It was getting late (around 00:30), and I was afraid I would damage the ancient circuit board or the fragile string that was connected to the radios tuner dial. I had to basically take everything apart if I wanted access to the components on the other side, so I think I will put that off to a later time.
I took the radio to bed with me (after waking up the missus to get her admiration of course :) and listened to the sweet tunes of Anthony and the Johnsons until I fell asleep.
When I woke up, the house was still here, no shortcircuits or fires :)
= Big success.
A nifty little project, an idea I really liked! I was impressed by the sound in the old radio. A fun little project story, thanks for sharing!