Da har man lært seg å stoppe ullsokker. Hvor mange voksenpoeng får man for det? Brukte en glasskål i mangel på stoppesopp.
Kategori: Repair the planet
DIY: Homemade drawing charcoal
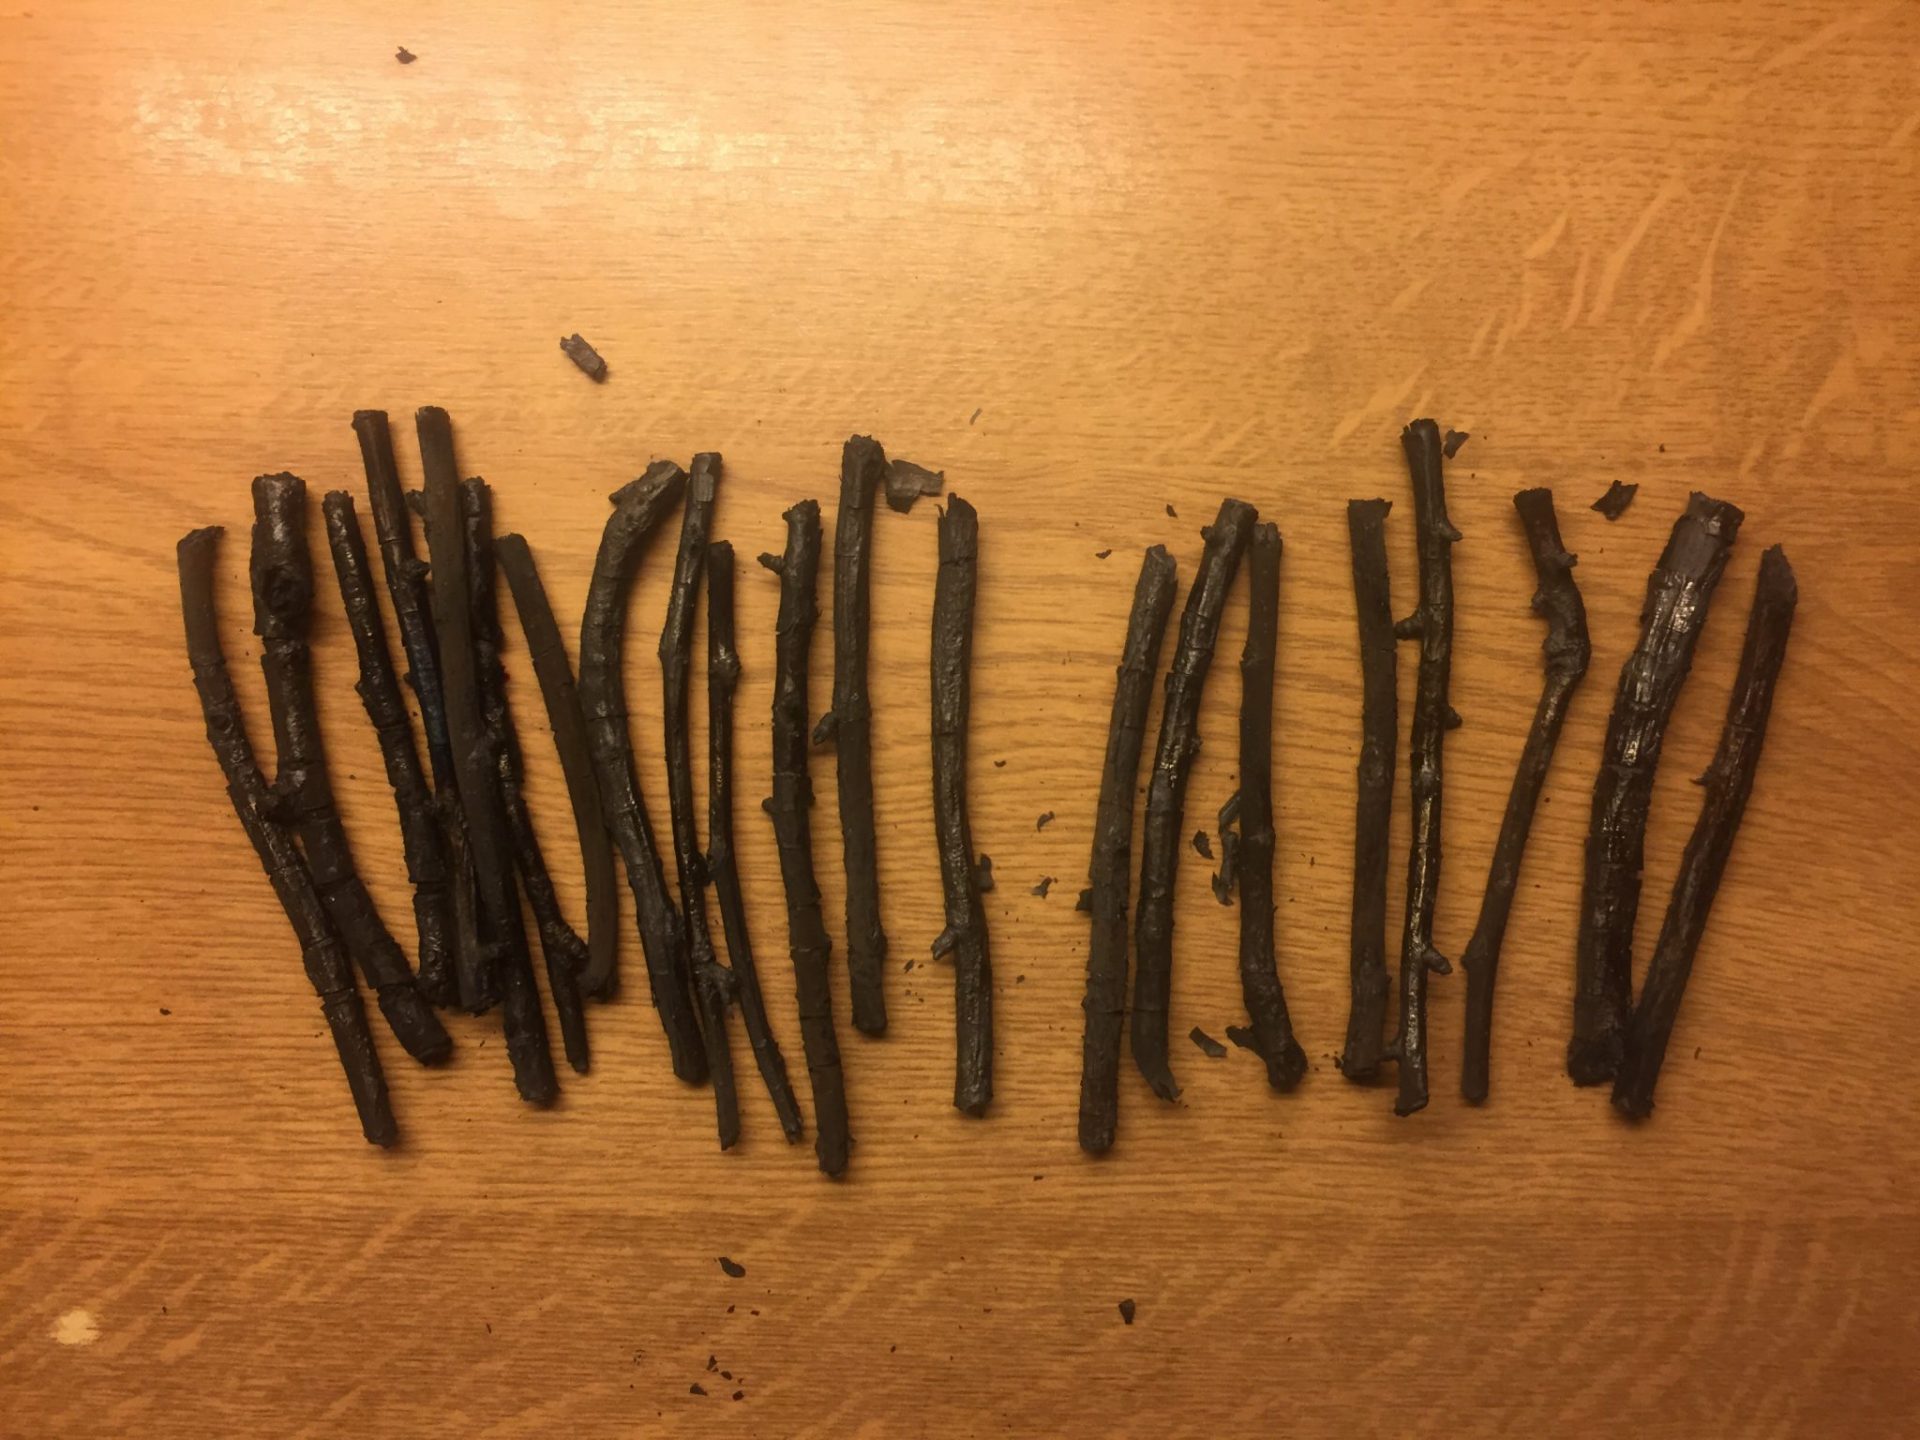
I wanted to test using drawing charcoal with my drawing machines, and decided to try to make my own instead of buying from eBay. Charcoal is made by burning (cooking?) wood in an oxygen-starved environment. I took a tea-leaf tin (bought in Tokyo many years ago, sad to see it go), and punched a small… Fortsett å lese DIY: Homemade drawing charcoal
Skogly Kompost og Flisespikkeri
Jeg er glad i kompost. Veldig, veldig glad i kompost. Du kan faktisk kalle meg en kompostnørd hvis du vil. Jeg har derfor bestemt meg for å starte en liten bedrift: «Skogly Kompost og Flisespikkeri» gjør avtaler med privatpersoner og firma i Trondheimsregionen om henting av kaffegrut og annet utvalgt komposterbart materiale, og omdanner det… Fortsett å lese Skogly Kompost og Flisespikkeri
Default startup page on Ubuntu guest session
I’ve been setting up some salvaged laptops for a local refugee center, running linux, and wanted to open a webpage automatically with useful information when a user logs on as guest. I did some googling, but found the explanations pretty confusing and convoluted. The solution is pretty simple, when you first figure it out. This… Fortsett å lese Default startup page on Ubuntu guest session
Gjenbruksflasker
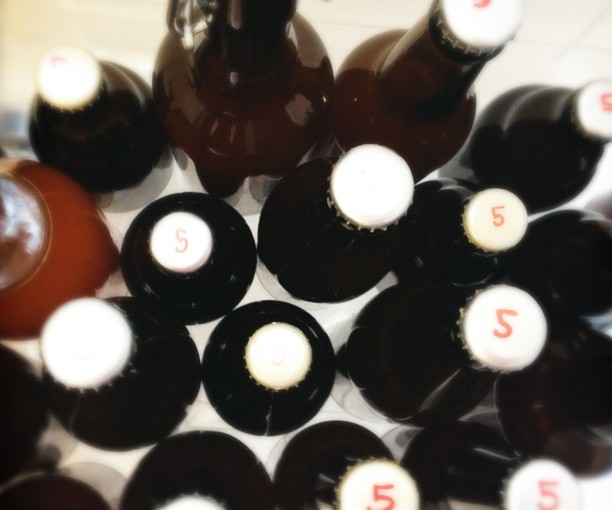
Oversikt over ølflasker hvor etiketten lett lar seg fjerne
Drivorgel
Skulle egentlig ha dette prosjektet ferdig til Trondheim Maker Faire. Prototypen funker, og spiller av samples når man holder nede knappene, men rakk ikke gjøre orgelet helt ferdig. Kan testes på https://pappmaskin.no/opensource/drivorgel/index%20v10.html (Vent til det står Ready, da er lydene lastet inn. Trykk og hold nede piltastene. Lyden spiller så lenge tasten er holdt nede.… Fortsett å lese Drivorgel
Utskrivbar frøpose (Printable seed packet template)
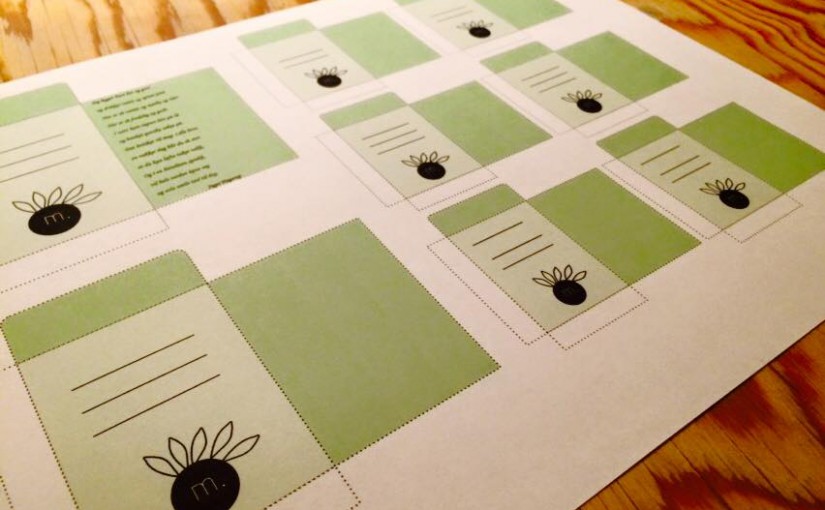
Høsten er her og frøbelgene strutter. Har vært i hagen og samlet frø fra rukkola, reddik, erter og brokkoline etter hvert som de har blitt modne, og etter en tid til tørk inne er det klart for å putte dem i papirposer for oppbevaring til neste sesong. (🍺 Liker du denne posten? Spander en øl… Fortsett å lese Utskrivbar frøpose (Printable seed packet template)
Postapokalyptisk Supermarked
For et rush det var å ha stand på Maker Faire i år! Vi hadde byttemarked og kreativt verksted, og det var til tider så fullt av folk (mest skoleungdom) på standen at det var umulig å bevege seg, bokstavelig talt. Helt rått! Spesiell takk til NRK for donasjoner av spennende elektronikk! Opplegget er i… Fortsett å lese Postapokalyptisk Supermarked
Se disse: 4 nye miljøvennlige TedTalks
Jeg elsker ted.com
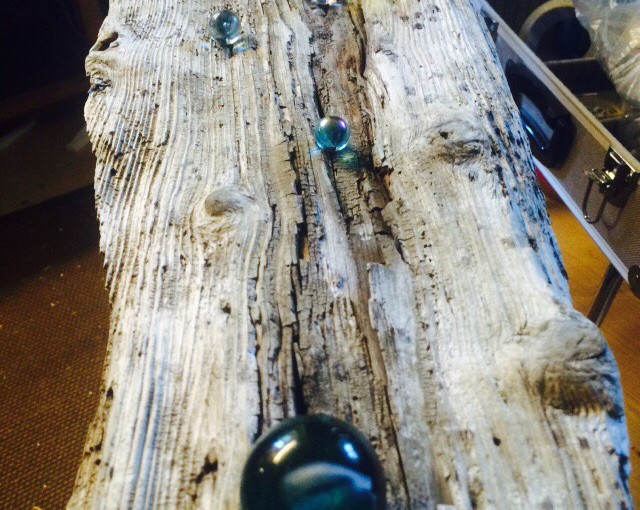
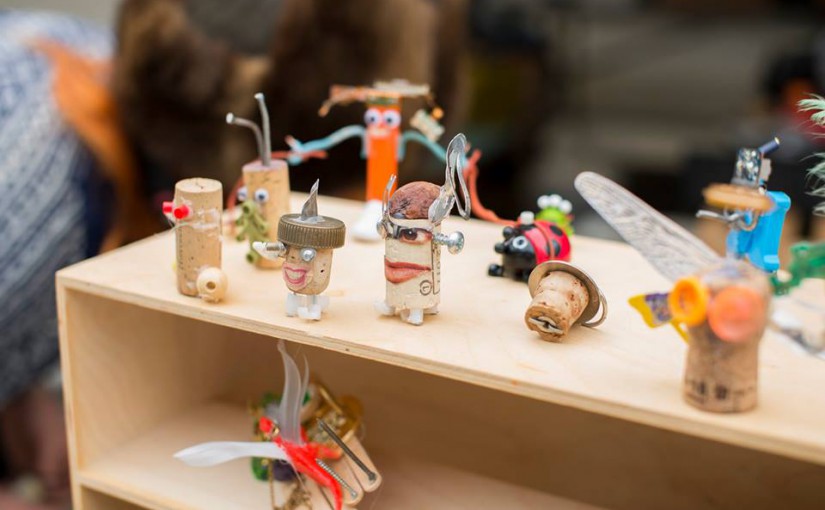
Disse pinnene døde for dine synder
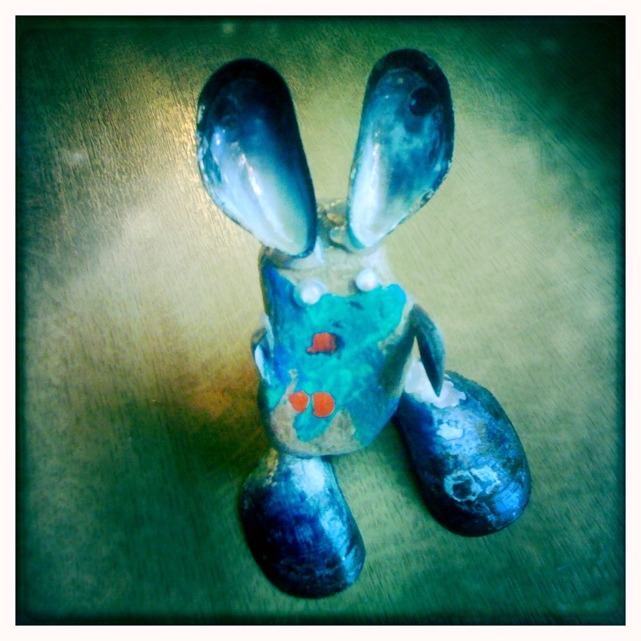
Søte pinnefolk laget av ungene i barnehagen. Liker også denne karen laget av min datter: